
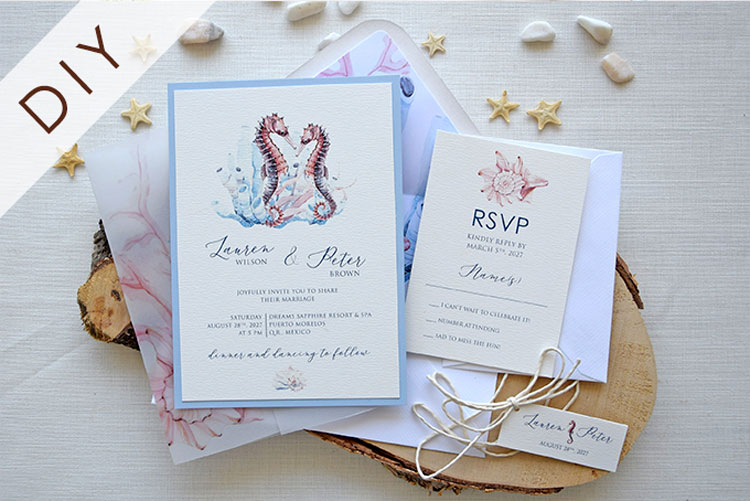

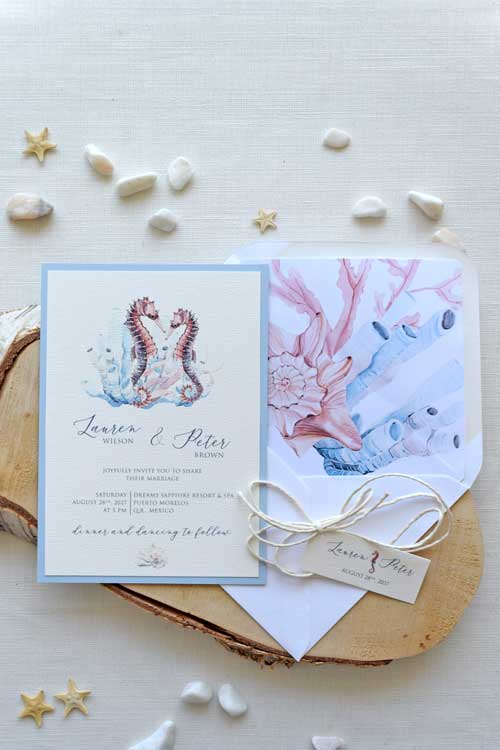
DIY Seahorse Beach Wedding Invitations
Description Everything you need to know about this DIY Seahorse Beach Wedding Invitation: What is included: Personalized and printed invitation card in off-white and Sky Blue on the back/frame Personalized and printed RSVP card in off-white Main / Large envelope – white Liner envelope – white paper with corresponding design RSVP envelope – white A beach-themed translucent vellum sheet Cream twine and personalized printed tag for the belly band 3 digital proofs are included (If you exceed the 3 proofs, we can continue to work on your proofs for a fee of $25 USD) Dimensions: Invitation: 5 x 7 in // 17.7 x 12.6 cm RSVP: 5 x 3.5 in // 12.6 x 8.9 cm How it works and How to start ordering: Add your personalized information in the text box below the “Add to Cart” button on the product page. Alternatively, you can email your wording to [email protected] 24/48h after placing your order, you will receive your first digital proof via email. We offer three digital proofs free of charge. You will receive our personalized customer support to personalize the set as you wish. Simply let us know the changes you would like, and we will provide you with a new digital proof. When you’re happy with the proofs, we will ask you to proofread again, as a precaution. We will only proceed to print and produce after receiving your final approval. After getting your final approval, you’ll be provided with an estimated shipping date. You will receive everything ready to assemble yourselves. Watch the video demo in the product photos to learn how to assemble them by yourself. You’ll get our support via Telegram, in case you have any questions (a link to Telegram will be provided). DIY / How to assemble: Use double-sided tape on the back of the invitation card to attach the sky blue frame card onto the backing. Wrap the invitation card with the vellum, ensuring a proper fit and creasing it smoothly. Hold the invitation card wrapped with the vellum and wrap it around the belly three times using the twine. Tie a knot on the front of the invitation card. Place the tag through the hole and tie a bow. Cut off any excess twine. Select 1 liner and place it inside the envelope. Move to center it and then, fold the back flap to add double-sided tape on the reverse of the liner and attach the back flap to finish it. Watch the demo video to learn how to do it. Best Adhesives: Visit THIS PAGE where we share the best adhesives to help you with the assembly. Processing time/shipping: Production time: 7-12 working days from proof approval. Shipping: Expedited shipping via FedEx: takes 24/48h to the EU; 2/3 working days to the US; 4/6 working days to other countries.
Related products
-
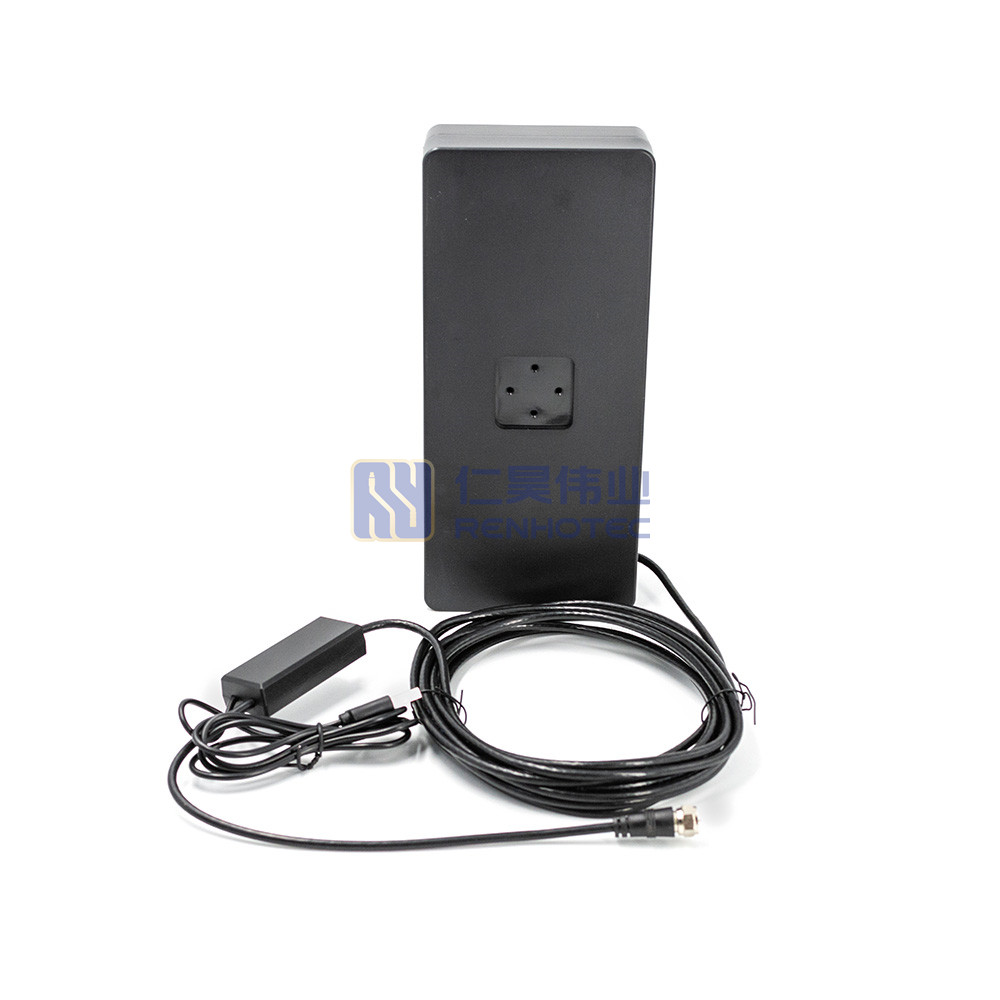
VHF 170-230MHz / UHF 470-862MHz High Gain Indoor Signal HD Digital TV Antenna
HD DTMB Digital WIFI TV Antenna with Integrated Small Amplifier This product has multiple variants. The options may be chosen on the product page -
Ground Wave Antenna HDTV Indoor and Outdoor Universal DVB-T2 Rural TV Antenna
New Hot Selling Outdoor High-Definition Digital Camper TV Antenna This product has multiple variants. The options may be chosen on the product page -
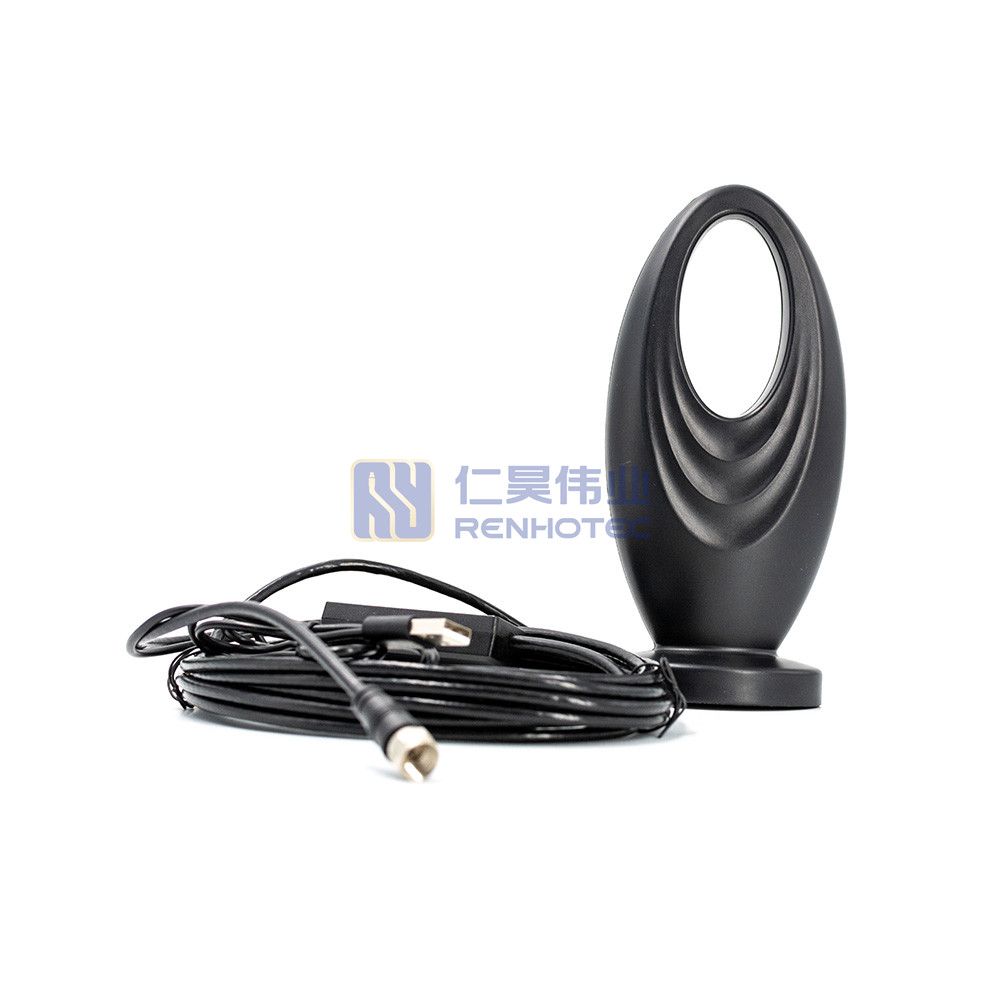
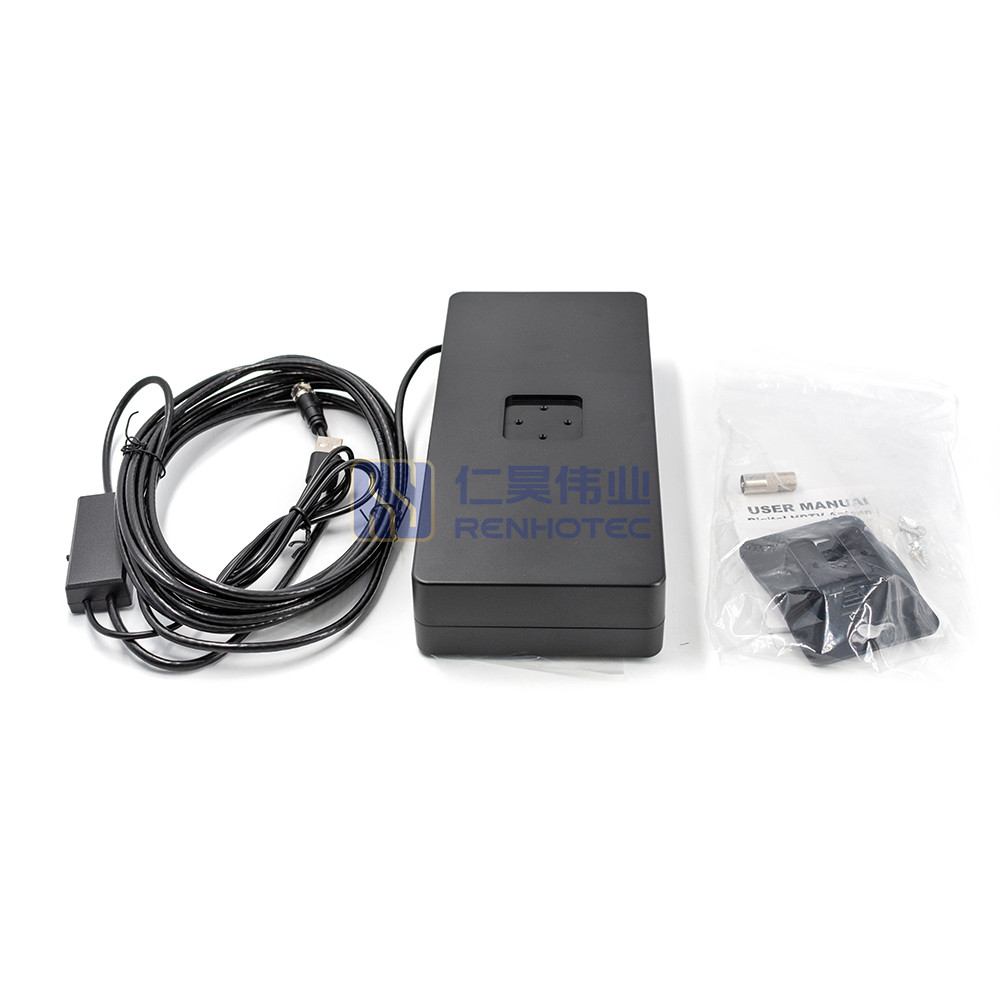
3-5 Meter Wire 1.5C-2V with Integrated Small Amplifier 4K Indoor Digital TV Antenna
High Quality Magnetic Digital Best indoor TV antenna For DVB-T DVB-T2 VHF UHF TV HDTV Digital Freeview This product has multiple variants. The options may be chosen on the product page -
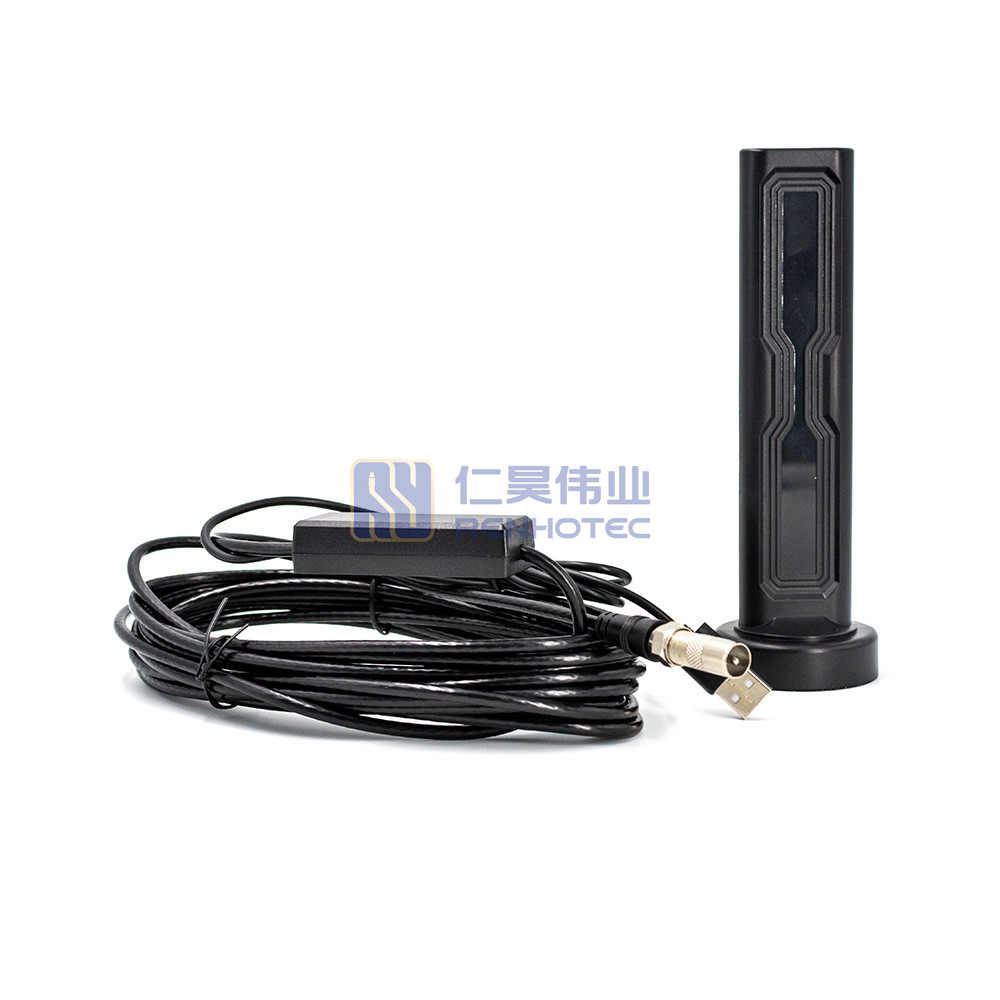
Best Indoor Digital TV Antenna with F Male / IEC Male Amplifier
75ohm 4K 1080P Magnetic VHF 170-230MHz / UHF 470-862MHz Indoor Digital Antena TV Antenna This product has multiple variants. The options may be chosen on the product page